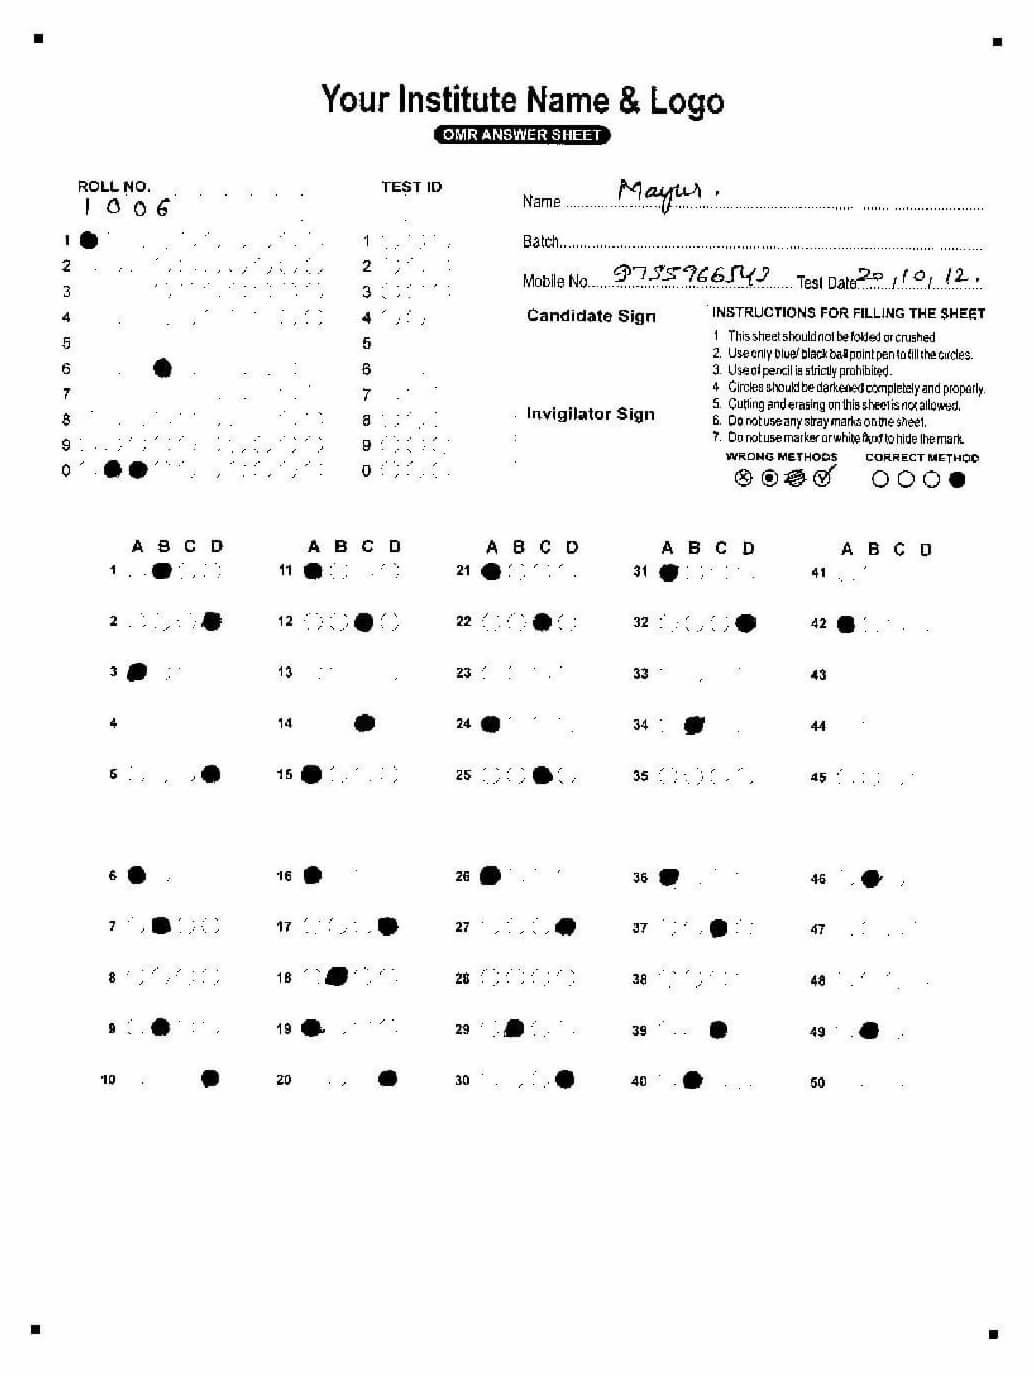
Place OMR sheets carefully in the scanner tray or document feeder.
Ensure sheet holding brackets are properly adjusted to avoid the sheets from straying, tangling, or tilting.
Although Addmen OMR Software can read rotated, skewed, or slightly distorted sheets, proper alignment reduces errors and speeds up scanning.
Black & White (1-bit): For regular OMR sheets without images. Minimizes file size and speeds up processing.
Color (RGB): For sheets with photos or two-color printing. Ensures clarity of photographs or colored bubbles.
Minimum 150 DPI: Required if the sheet contains OCR fields, barcodes, or photographs.
Even with correct scanning procedures, the scanner itself can affect image quality:
Tip: If output quality is suspect, scan the same sheet on another scanner and compare results to identify scanner-related issues.
| Step | Best Practice |
|---|---|
| Sheet Placement | Adjust holding brackets; avoid tilting or tangling |
| Scanner Mode | B/W (1-bit) for normal sheets; RGB for colored/photos; 150+ DPI for OCR/barcode |
| Scanning Area | Include all 4 corners and timeline with sufficient white space |
| File Format | JPG, TIFF (single-page), BMP; avoid DOC/PDF |
| Scanner Maintenance | Ensure rollers are functional; replace or repair old/worn scanners |
| Accuracy Check | Scan sample sheets on a different scanner if image quality is inconsistent |
By following these precautions, scanning accuracy improves significantly, and the OMR software can read sheets reliably without requiring specialized hardware.
 |
Addmen Group Copyright 2025. All Rights Reserved.